


HOW TO SET UP A BLUEHOST LOGIN AND ACCOUNT
WHAT IS BLUEHOST?
Bluehost is a web hosting company that hosts over 2 million websites. It was conceived of by Matt Heaton in 1996 and officially launched as Bluehost in 2003. They offer many different types of hosting, including shared hosting, WordPress hosting, VPS hosting, dedicated hosting, cloud hosting, WooCommerce hosting, and a lot more types of web hosting and domain services.
HOW TO SET UP A BLUEHOST LOGIN AND ACCOUNT
To become a Bluehost affiliate, you’ll need to own a website. And there isn’t a better way than building a Bluehost website. They truly own the market, and it’s a win-win for new bloggers.
1. VISIT BLUEHOST.COM AND SELECT SHARED HOSTING.
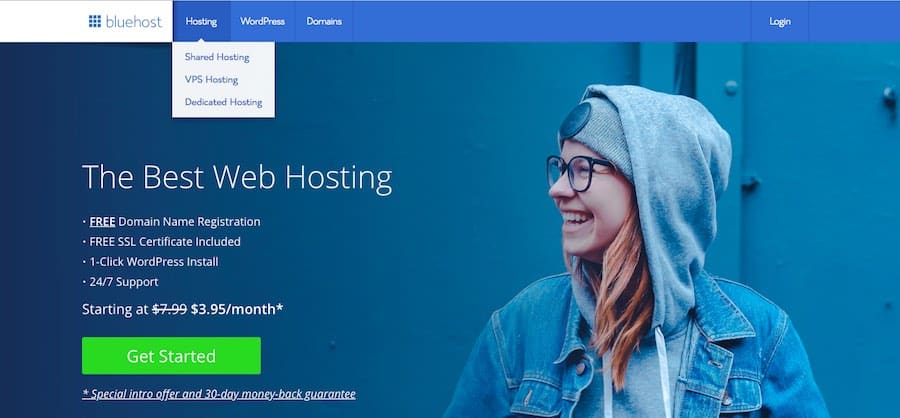
2. SELECT A BLUEHOST SHARED HOSTING PLAN THAT MEETS THE NEEDS OF YOUR WEBSITE.

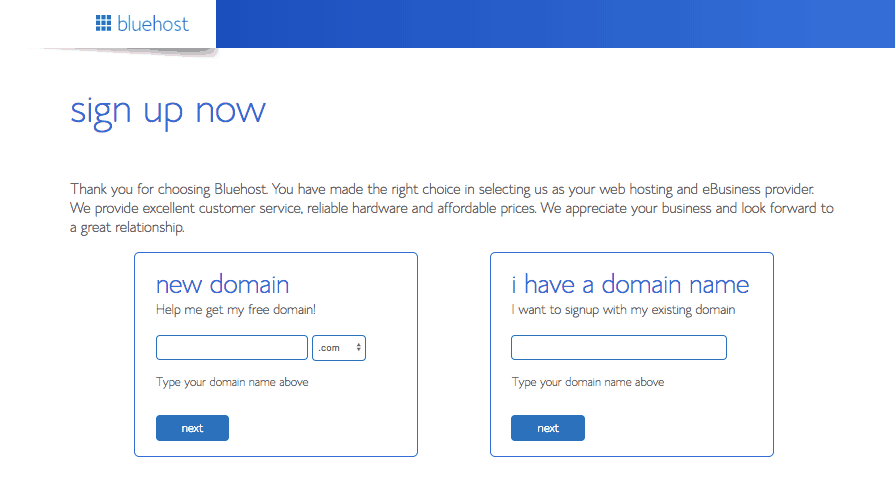
3. REGISTER A NEW DOMAIN NAME OR ADD ONE TO OWN TO BLUEHOST.
Or, if you have a domain name with another service, follow the steps to set up your Bluehost shared hosting with that URL.
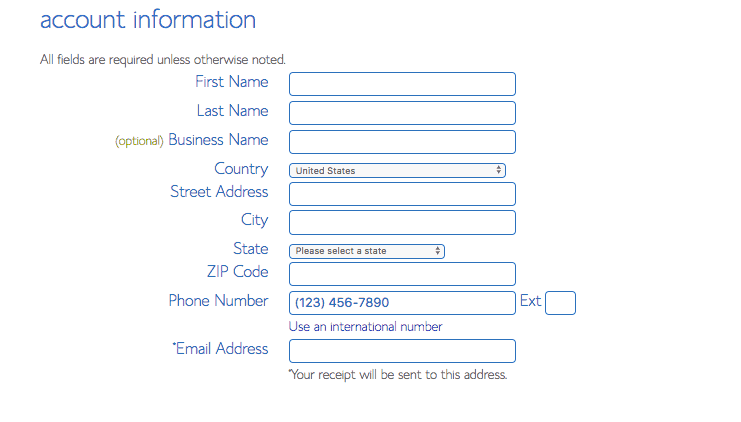
4. ADD YOUR BLUEHOST LOGIN INFORMATION.
You may also log in using your Google profile and account details. You’ll use this Bluehost login moving forward.
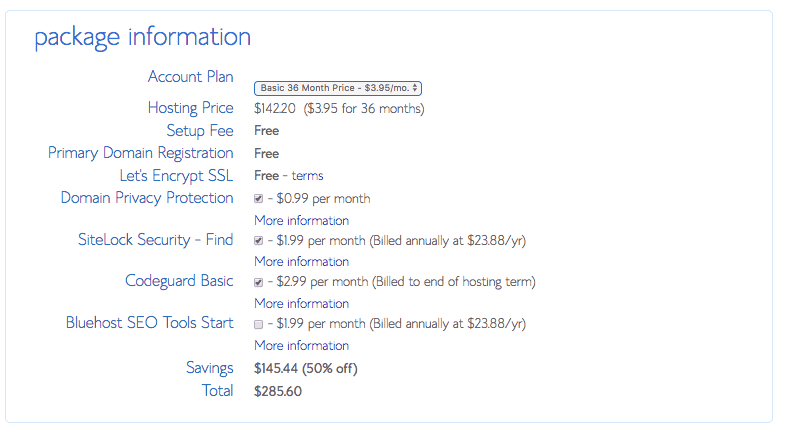
5. REVIEW YOUR BLUEHOST PACKAGE INFORMATION.
You have the option to include additional features such as SiteLock in your plan. If you do not wish to pay for these features, be sure to uncheck the boxes.
6. ENTER YOUR PAYMENT INFORMATION AND SUBMIT.

After you complete these steps, you use your Bluehost login and launch your website using the Bluehost hosting plan of your choice.
0 Comments